Mini bucket package
To install Mini Bucket, you will need Debian 9 and PHP 7.0. Full testing has not been performed on other versions. To install Debian 9 and Mini Bucket, follow the instructions below.
Important system requirement: Mini Bucket must be installed on a clean system. It is not recommended to install it on a system where other services or packages are already present. During the installation, permissions for some system files will be changed, and modifications will be made to configuration files.
Installing OS Debian 9
To install Debian 9, you will need the following:
-
Download Debian 9 from the official website:
https://cdimage.debian.org/cdimage/archive/9.13.0/amd64/iso-cd/debian-9.13.0-amd64-netinst.iso -
Create a bootable installation medium:
— For Windows, use Rufus: https://rufus.ie/
— For Linux, usedd
Important: An internet cable must be connected to the computer during installation. Network settings (DHCP or static IP) depend on your network configuration. This guide assumes DHCP is used.
OS Installation Steps
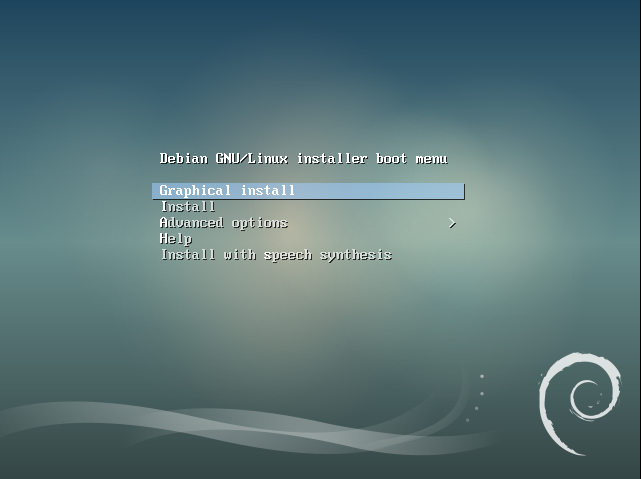
Select Graphical install.
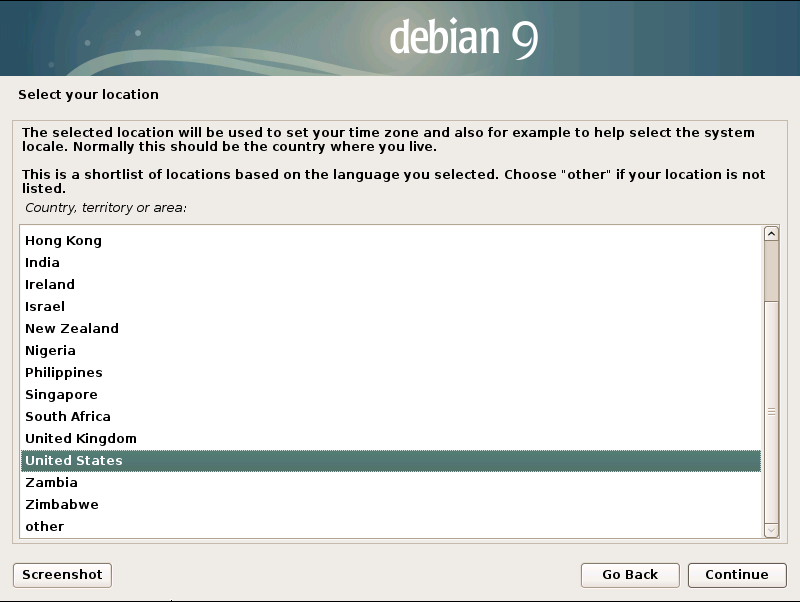
Select your location → Select your country.
Select your location → choose your region.
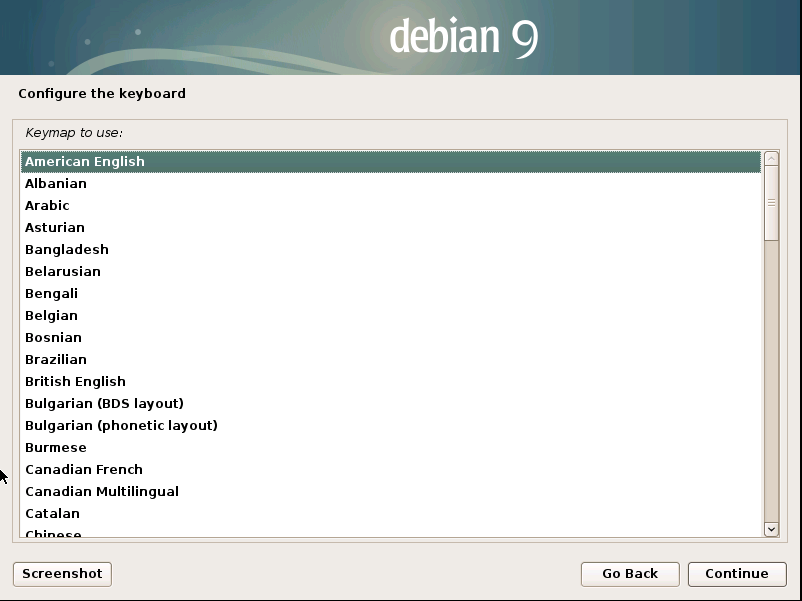
Configure the keyboard → American English.
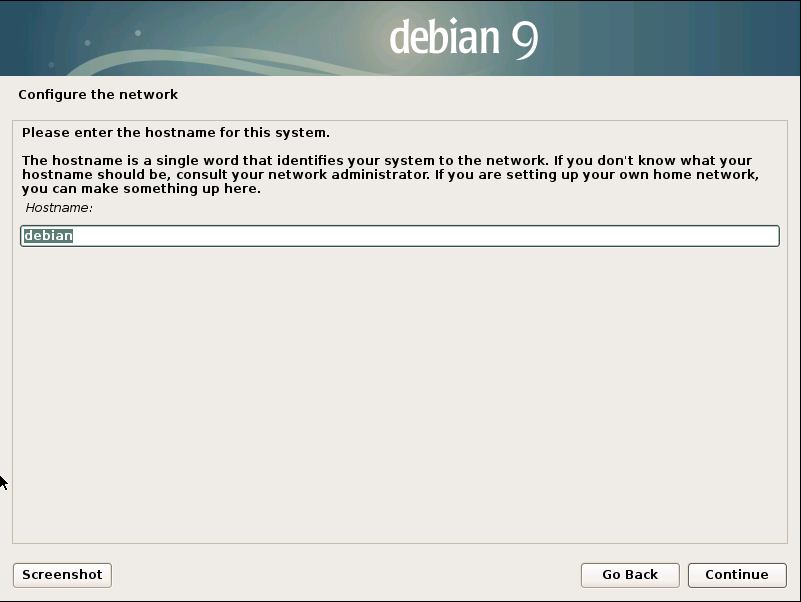
Configure the network — enter a hostname or leave the default.
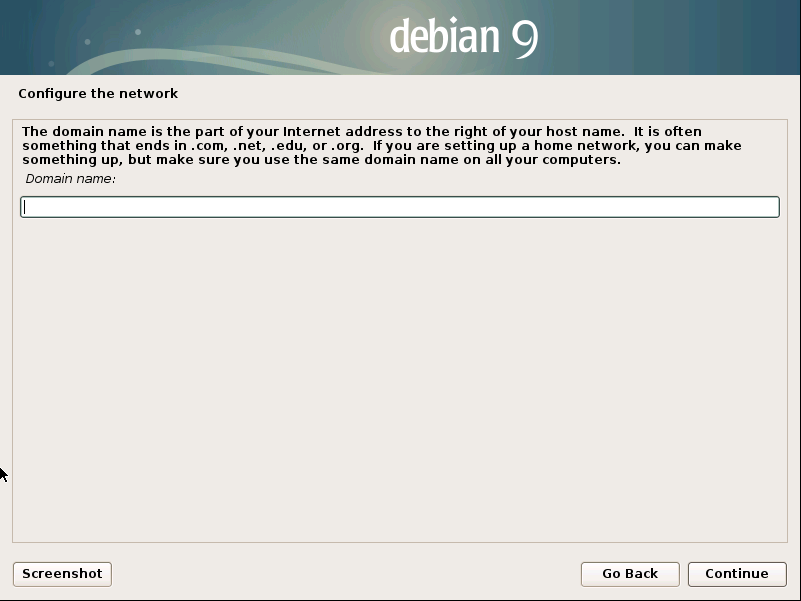
Configure the network — enter a domain name if applicable.

Set up users and passwords — set a password for the root user.
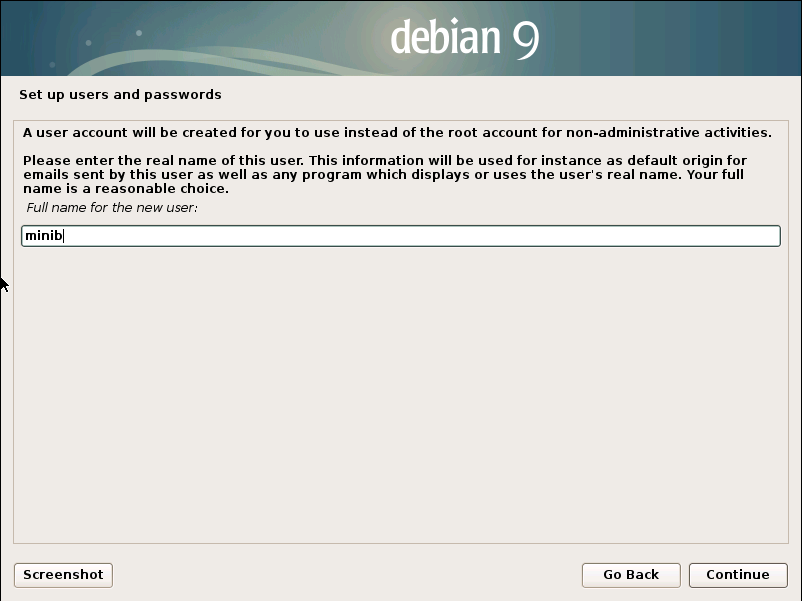
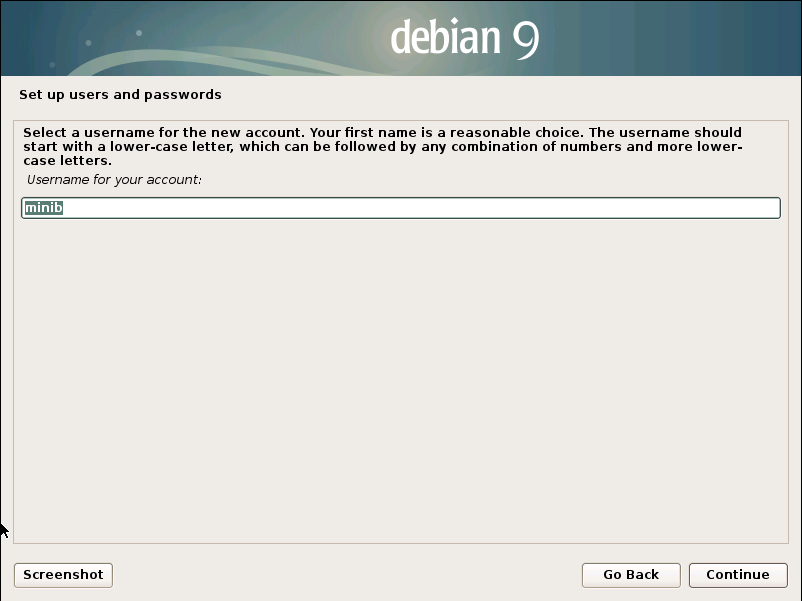
Set up users and passwords — enter a non-root username (e.g., minib).
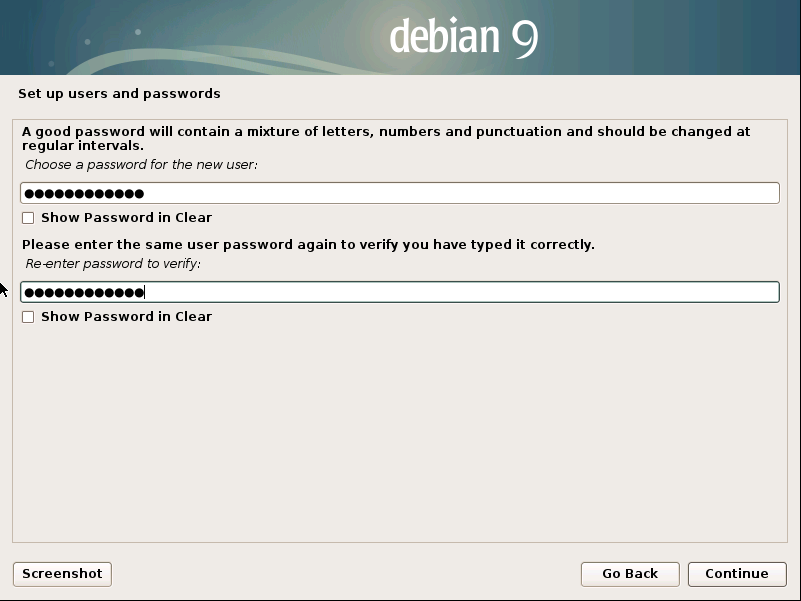
Set up users and passwords — set a password for the new user.
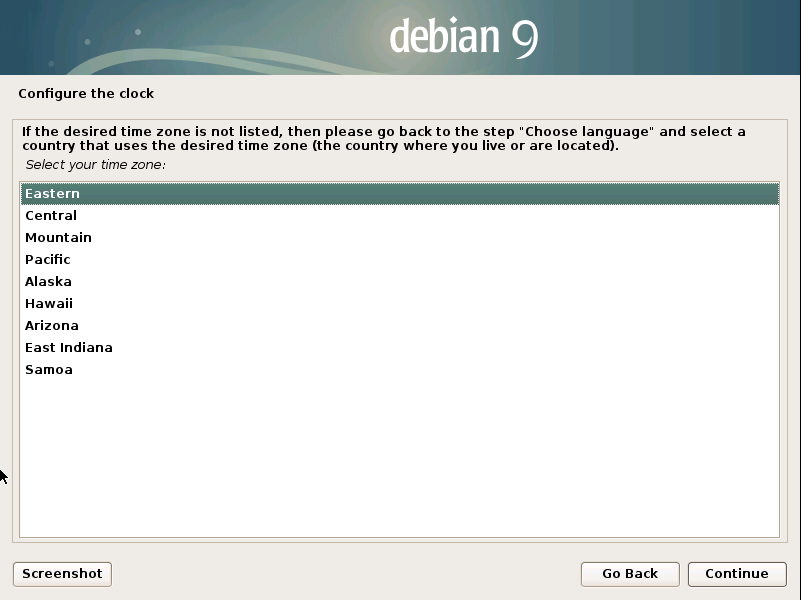
Configure the clock — select your time zone.
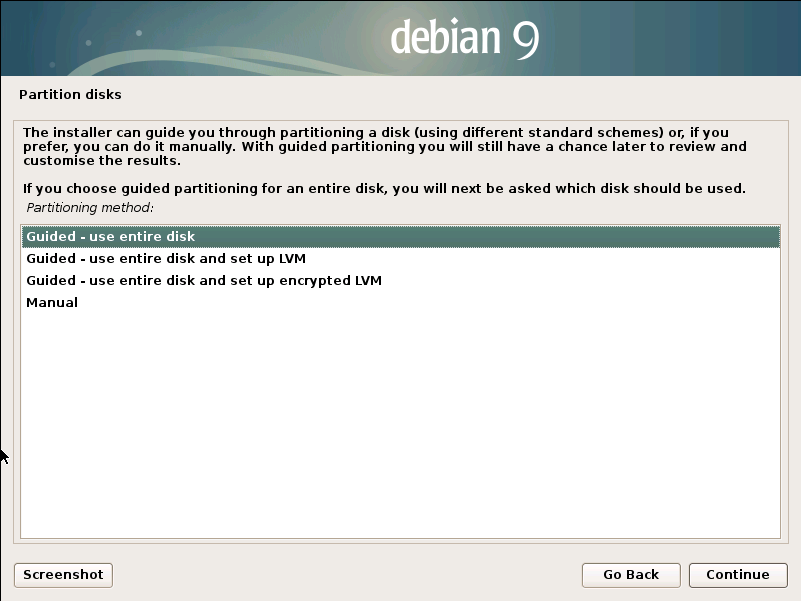
Partition disks → Guided – use entire disk.
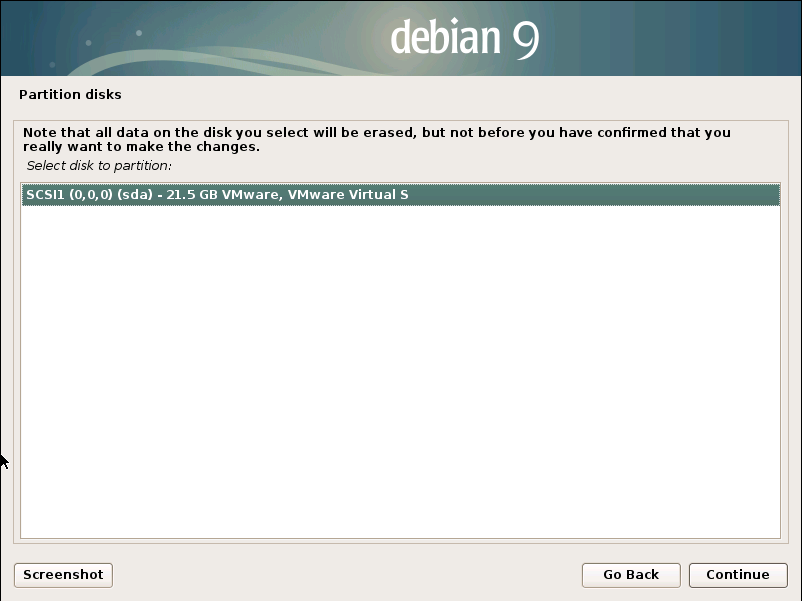
Partition disks — select the disk where the system will be installed.
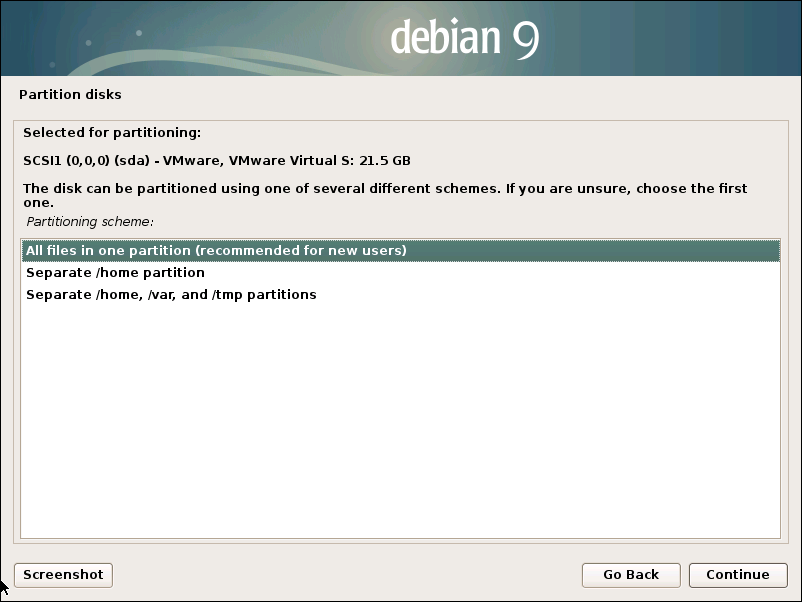
Partition disks → All files in one partition.
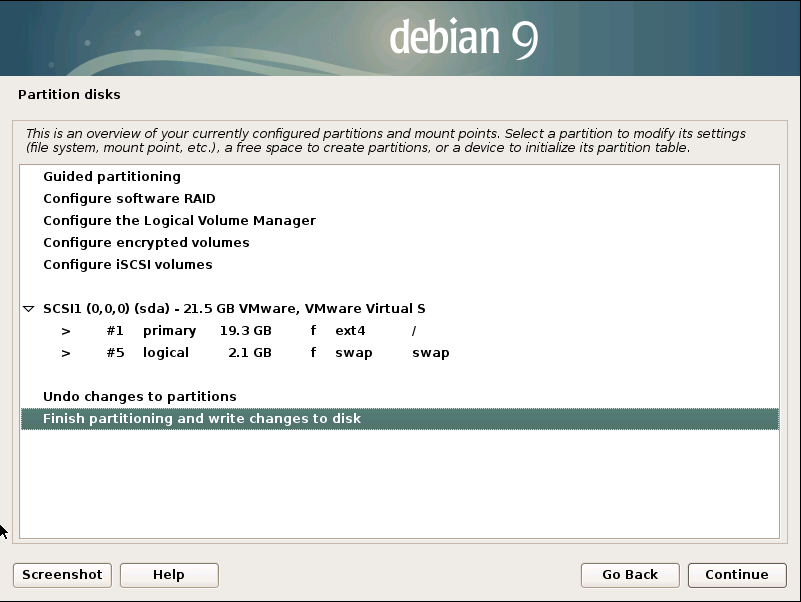
Partition disks → Finish partitioning and write changes to disk.
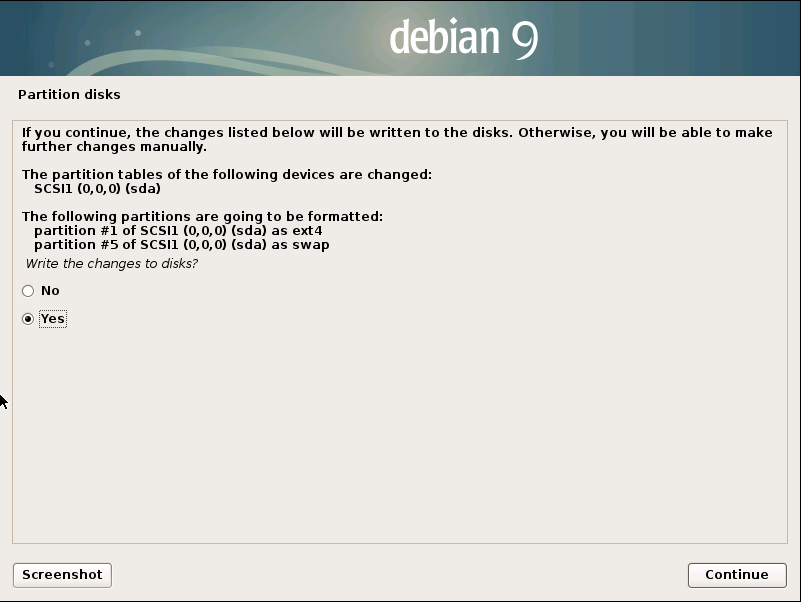
Partition disks — confirm the changes.
⚠️ Warning: All data on the selected disk will be permanently erased!
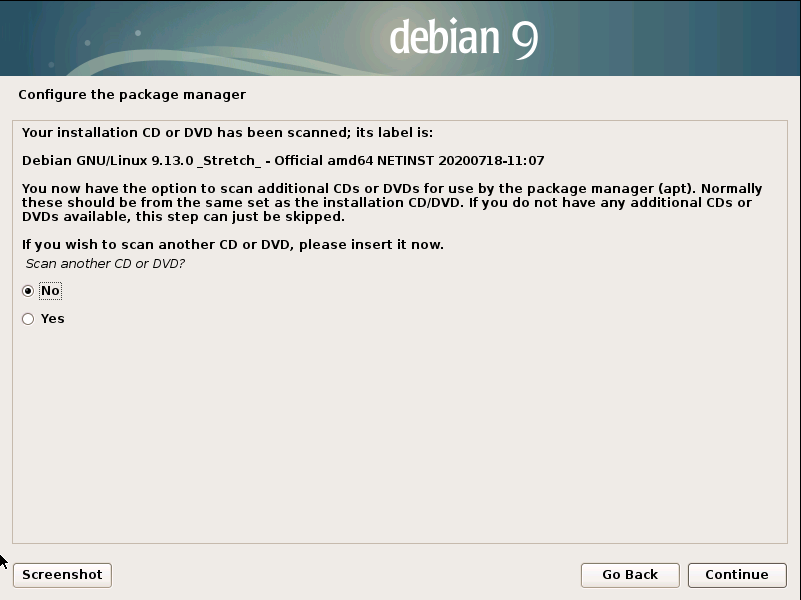
Configure the package manager — decline using CD/DVD.
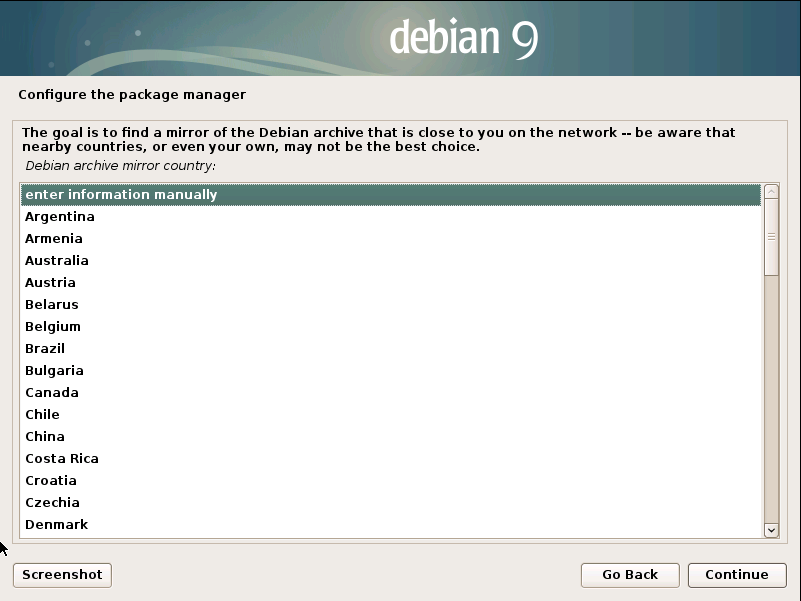
Configure the package manager → enter information manually.
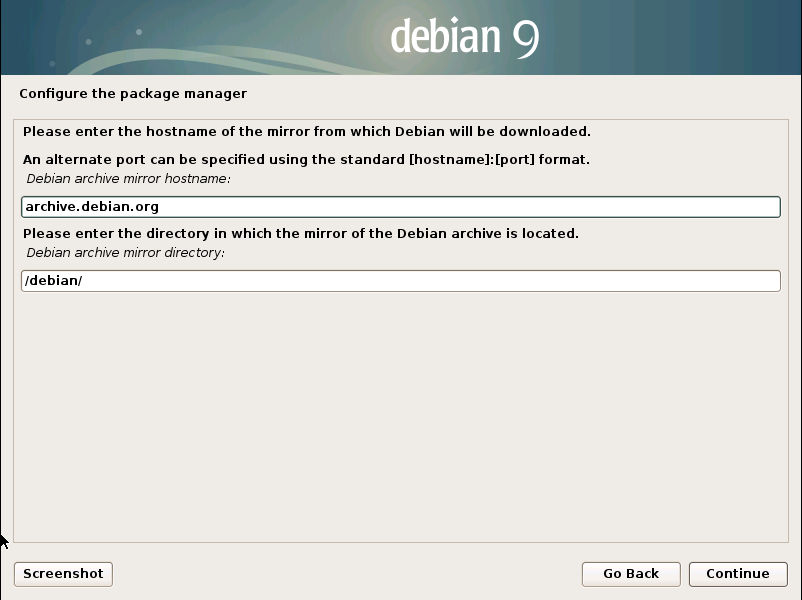
Configure the package manager — enter the Debian archive mirror hostname:archive.debian.org
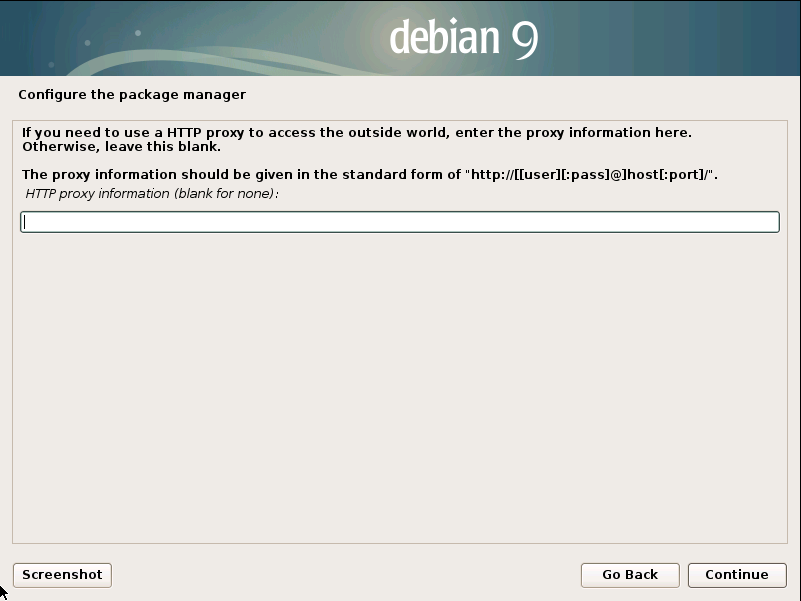
Configure the package manager — enter proxy information if applicable.
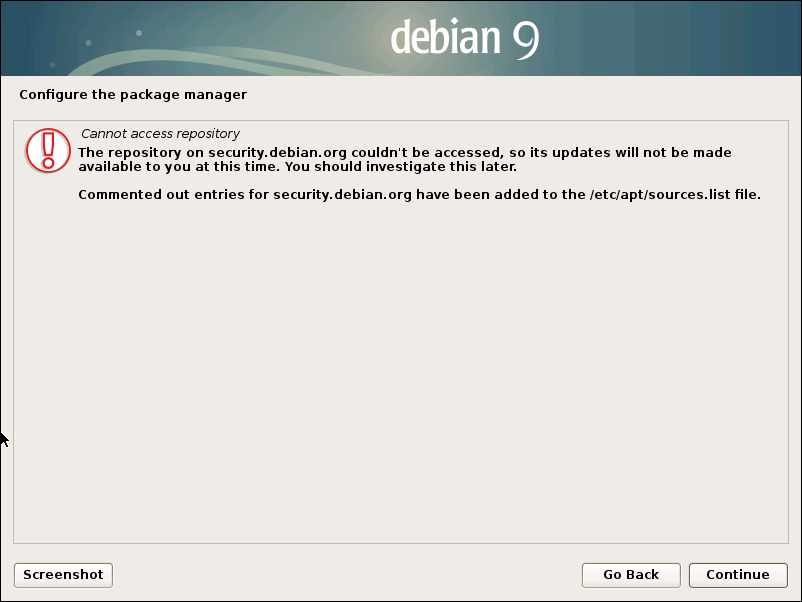
Configure the package manager — if the repository cannot be accessed, agree to continue.
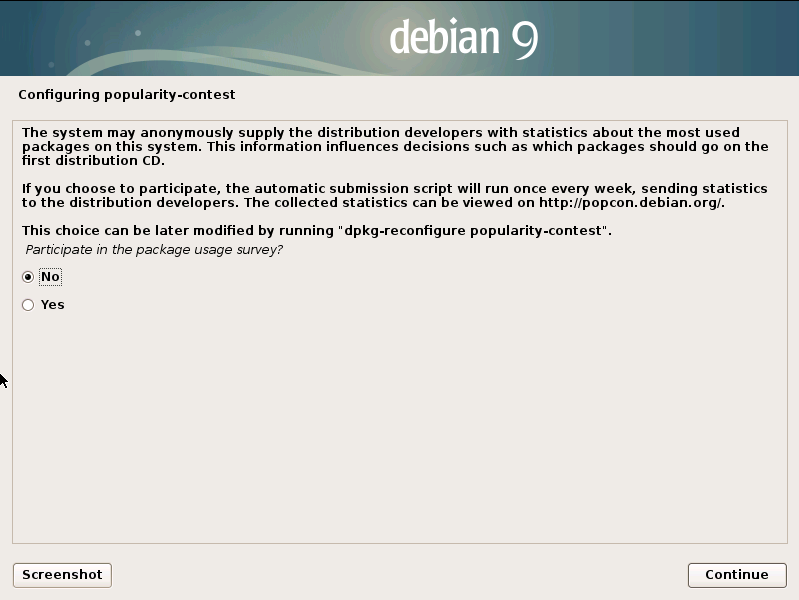
Configuring popularity-contest — decline.
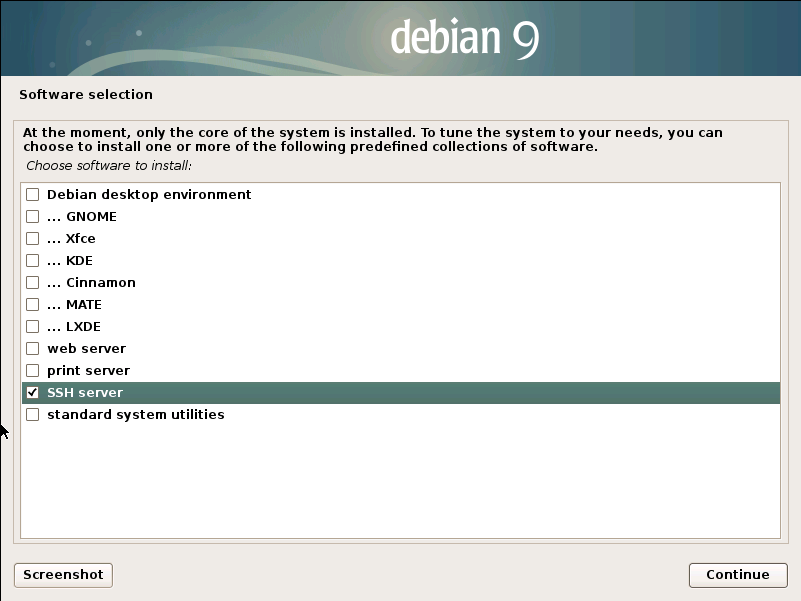
Software selection — select only SSH server, deselect everything else.
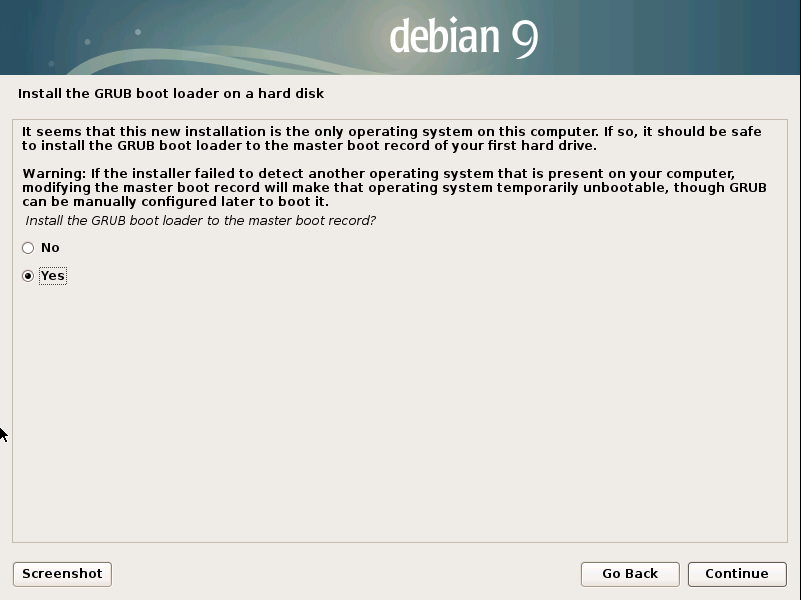
Install the GRUB boot loader on a hard disk → Yes.
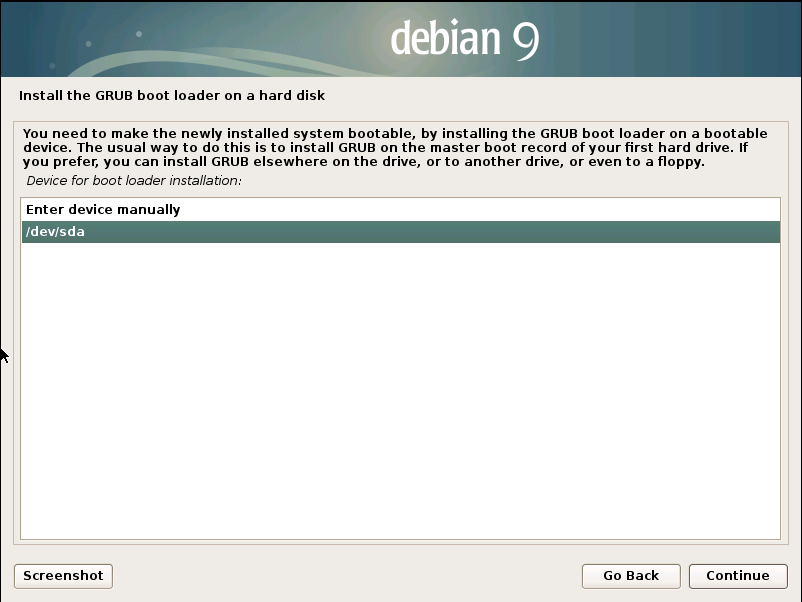
Install the GRUB boot loader on a hard disk — select your system disk.
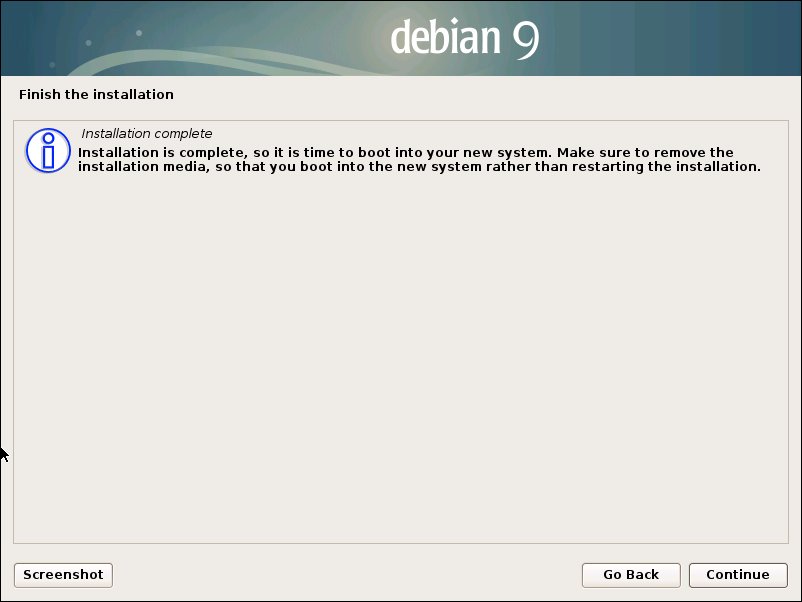
Finish the install — complete the installation.
Installation is complete. Remove the installation media and reboot the system.
Installing Mini Bucket
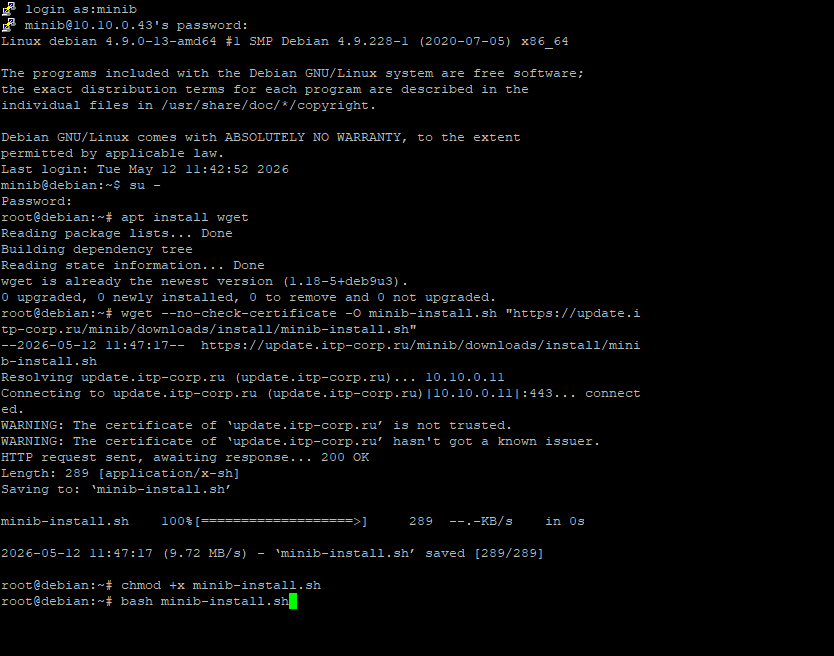
1) Log into your server console.
2) Elevate privileges with the command
su –
and enter the root password.
3) As a precaution, install wget (if not already installed):
apt install -y wget
4) Download the installation script:
wget –no-check-certificate -O minib-install.sh “https://update.itp-corp.ru/minib/downloads/install/minib-install.sh”
5) Make the script executable:
chmod +x minib-install.sh
6) Run the installation:
bash minib-install.sh
Completing the Mini Bucket Installation
The installation script has finished. To continue, open your web browser and go to the URL provided by the script.
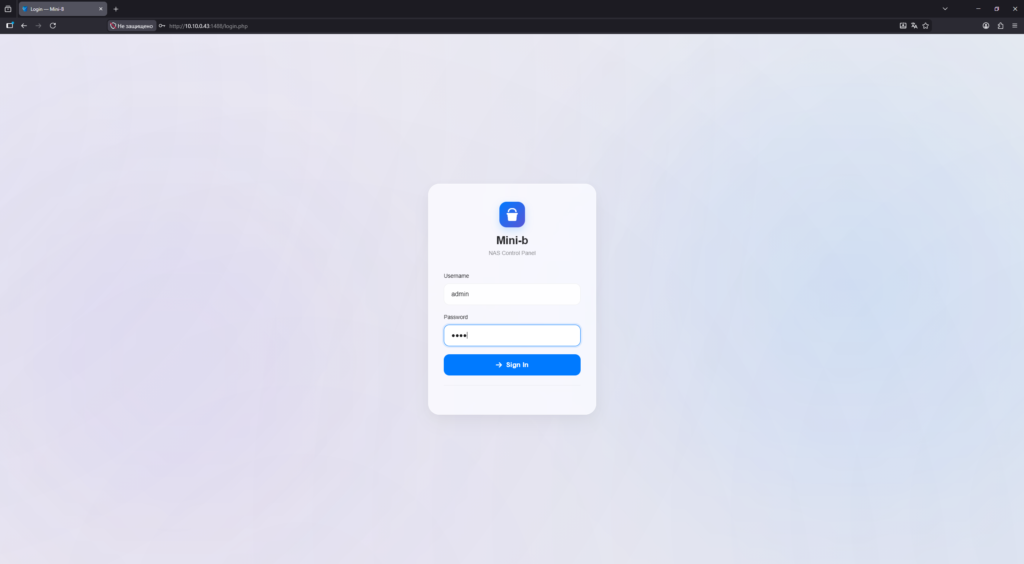
Log in to the panel
Enter the username admin and password 1234, then log in.
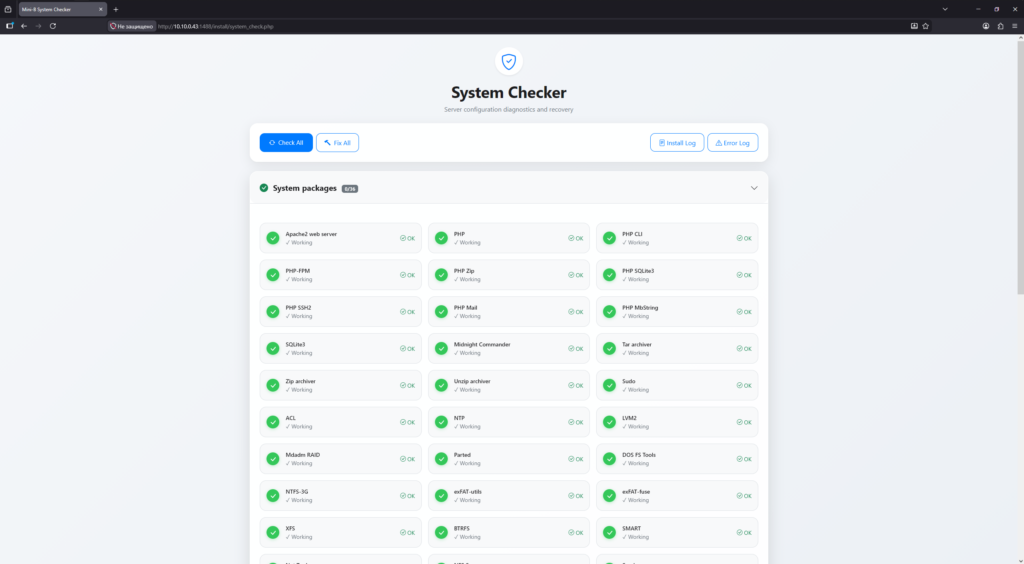
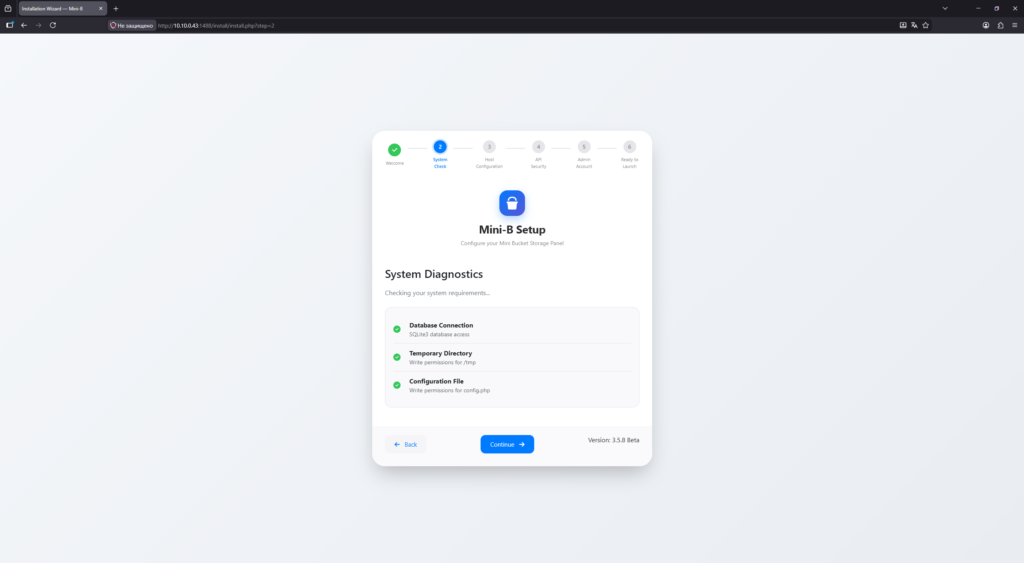
System diagnostics
A diagnostic check of settings and installed packages will be performed.
⚠️ Note: Errors may appear in the System services section (Rsync and Firewall-UFW) as well as in the Files and Configurations section (Mini-B admin config (port 1488)). These errors are not critical — you can safely ignore them.
If any other error appears with the status ✗ Needs attention, click the Fix button next to it for automatic configuration.
Scroll to the bottom of the page and click Next.
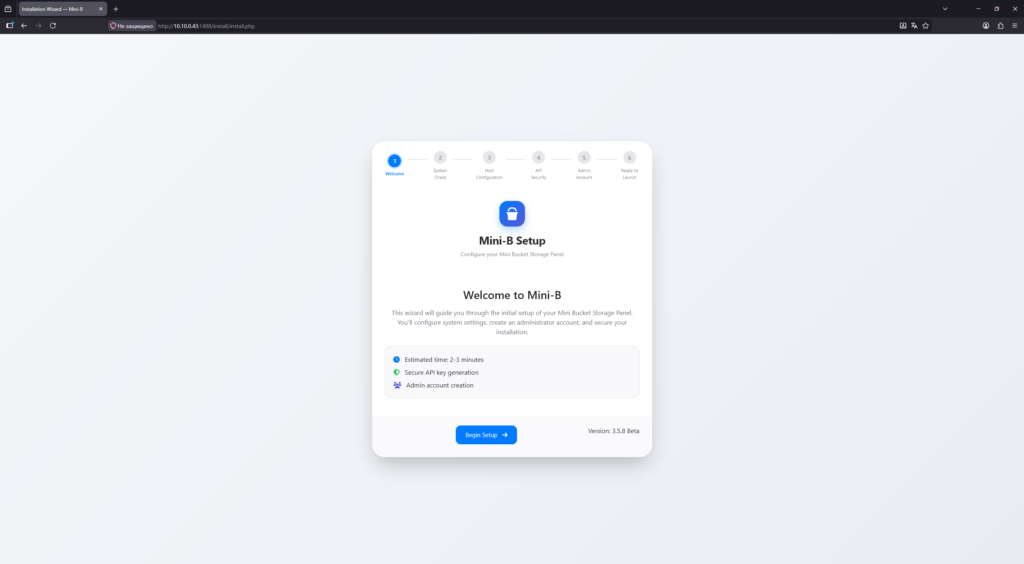
Mini-B setup wizard
The setup wizard will start. Follow these steps:
-
Step 1 — click
Begin setup. -
-
Step 2 — availability of required files will be checked. Click
Continue. -
-
Step 3 — change the hostname if needed. Click
Continue. -

-
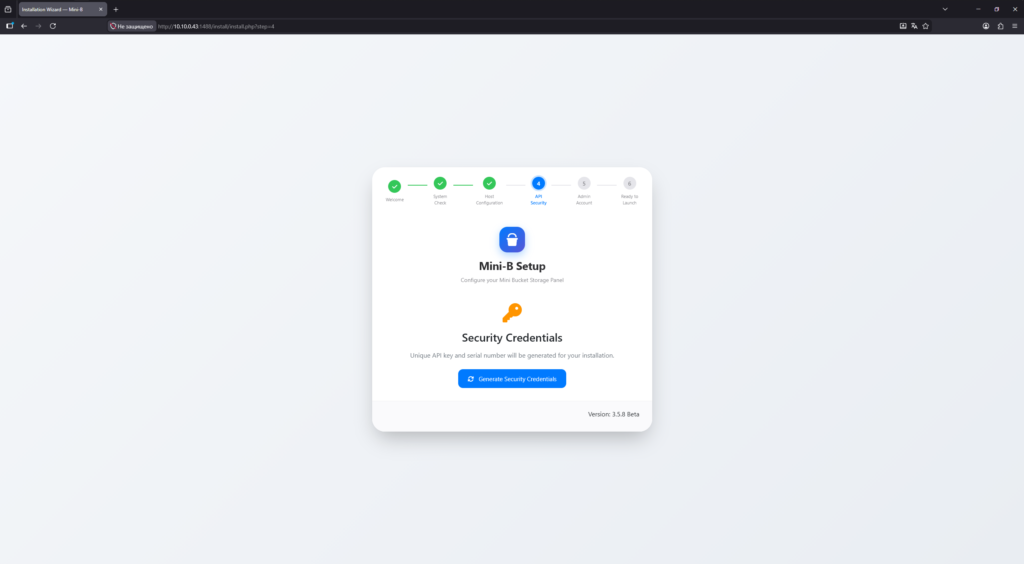
Step 4 — API key generation. Click
Generate Security Credentials. -
-
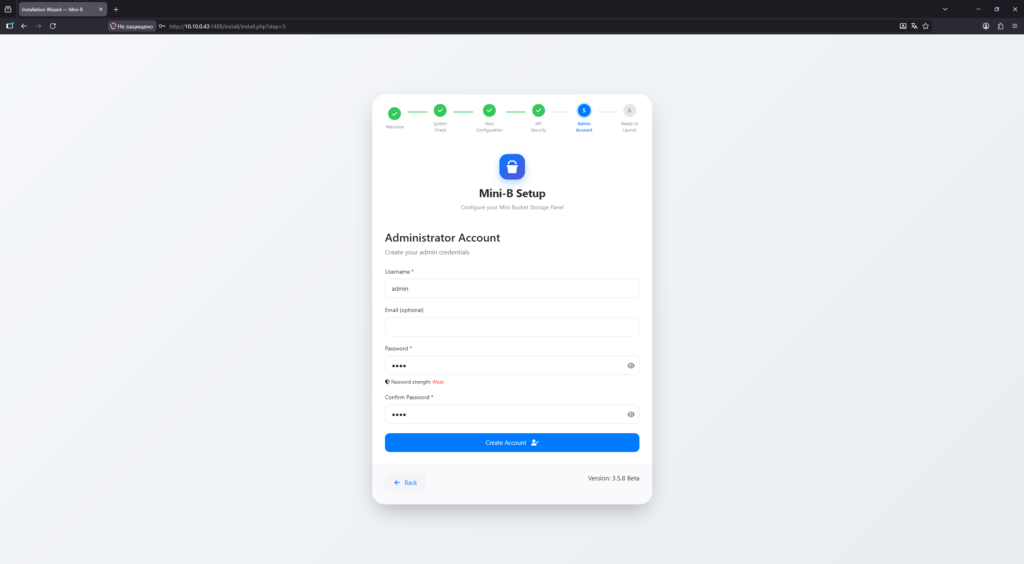
Step 5 — change the admin password. Enter a new password and click
Create account. -
-
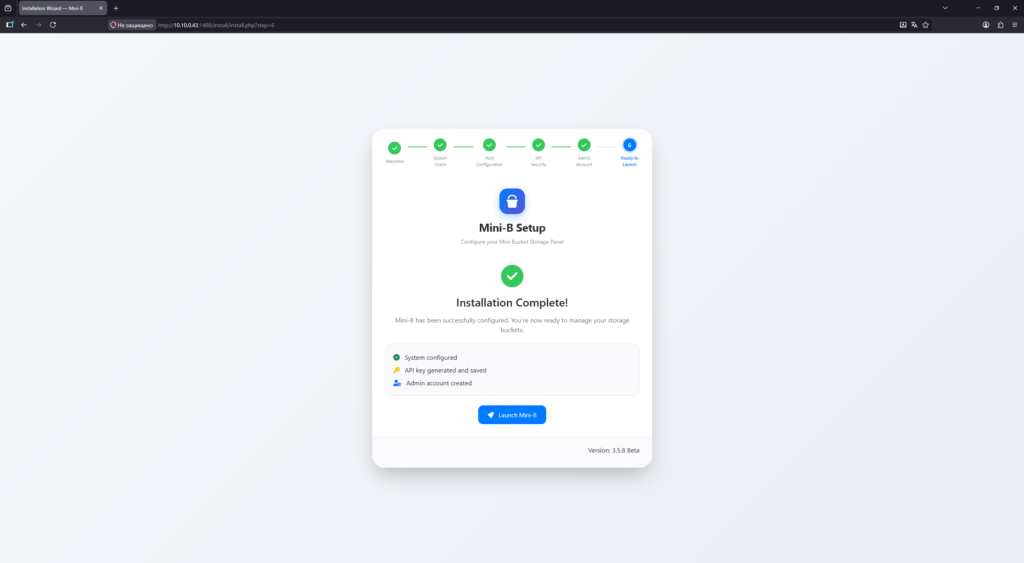
Step 6 — installation complete. Click
Launch Mini-B. -
If the diagnostic screen reappears, simply click Next.
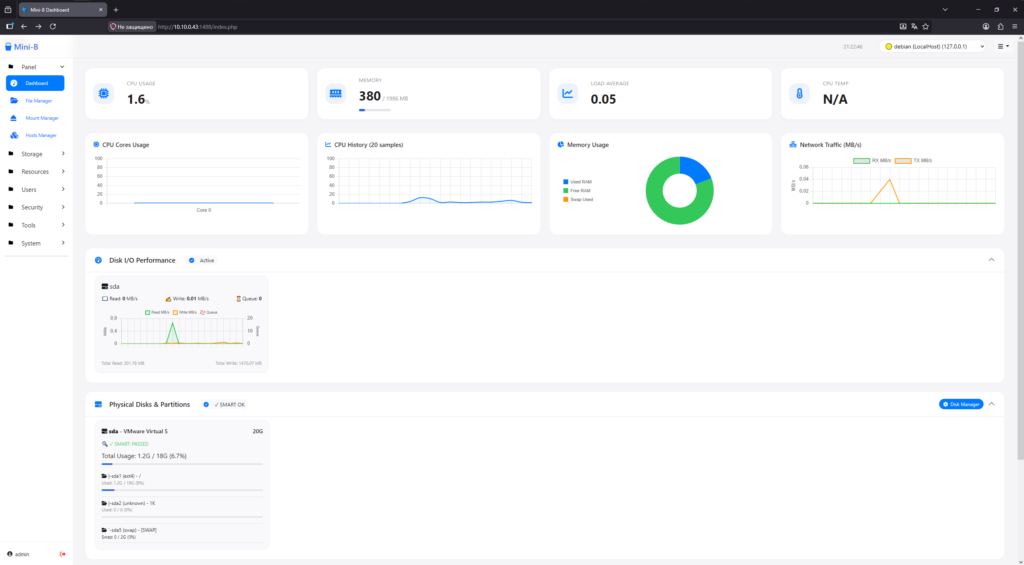
✅ Done! Your Mini-B control panel has been successfully installed.
Recommended Post-Installation Settings
-
Create a self-signed certificate in
Security > SSL Manager. -
Go to
System > Mini-b Settings. -
Enable
Enable HTTPSand underSSL Certificate, select the self-signed certificate you created. -
Click
Apply & test configand access your panel viahttps://instead ofhttp://in your browser.
For better compatibility, it is recommended to download and install this certificate in your system’s root certificate store to avoid browser warnings.
You may also use a commercial certificate from a trusted provider. In that case, import it into Mini-B via
Security > SSL Manager.